Exit lights are an important part of any building. They
guide people to safety during an emergency. Without them, people can get lost
or panic if power goes out. Installing exit lights is not difficult if you have
the right tools and follow clear steps. Two common types are surface mounted
and recessed. Each has its own way of being set up. This guide will walk you
through both methods in a simple and clear way.
Before you begin, gather your tools. This makes the job
smooth and safe. You will need:
- A drill and drill bits
- Screwdrivers
- A level
- Wire strippers
- Electrical tape
- Mounting screws and anchors
- Safety gloves
- A voltage tester
Check that the exit light you bought comes with its own
mounting plate, back box, or recessed housing. Read the instruction sheet that
comes with it. It often includes helpful diagrams.
Work with care. Turn off power at the circuit breaker before
touching any wires. Use a voltage tester to confirm that no current is flowing.
Wear gloves to protect your hands. If you are unsure about wiring, ask a
licensed electrician to help.
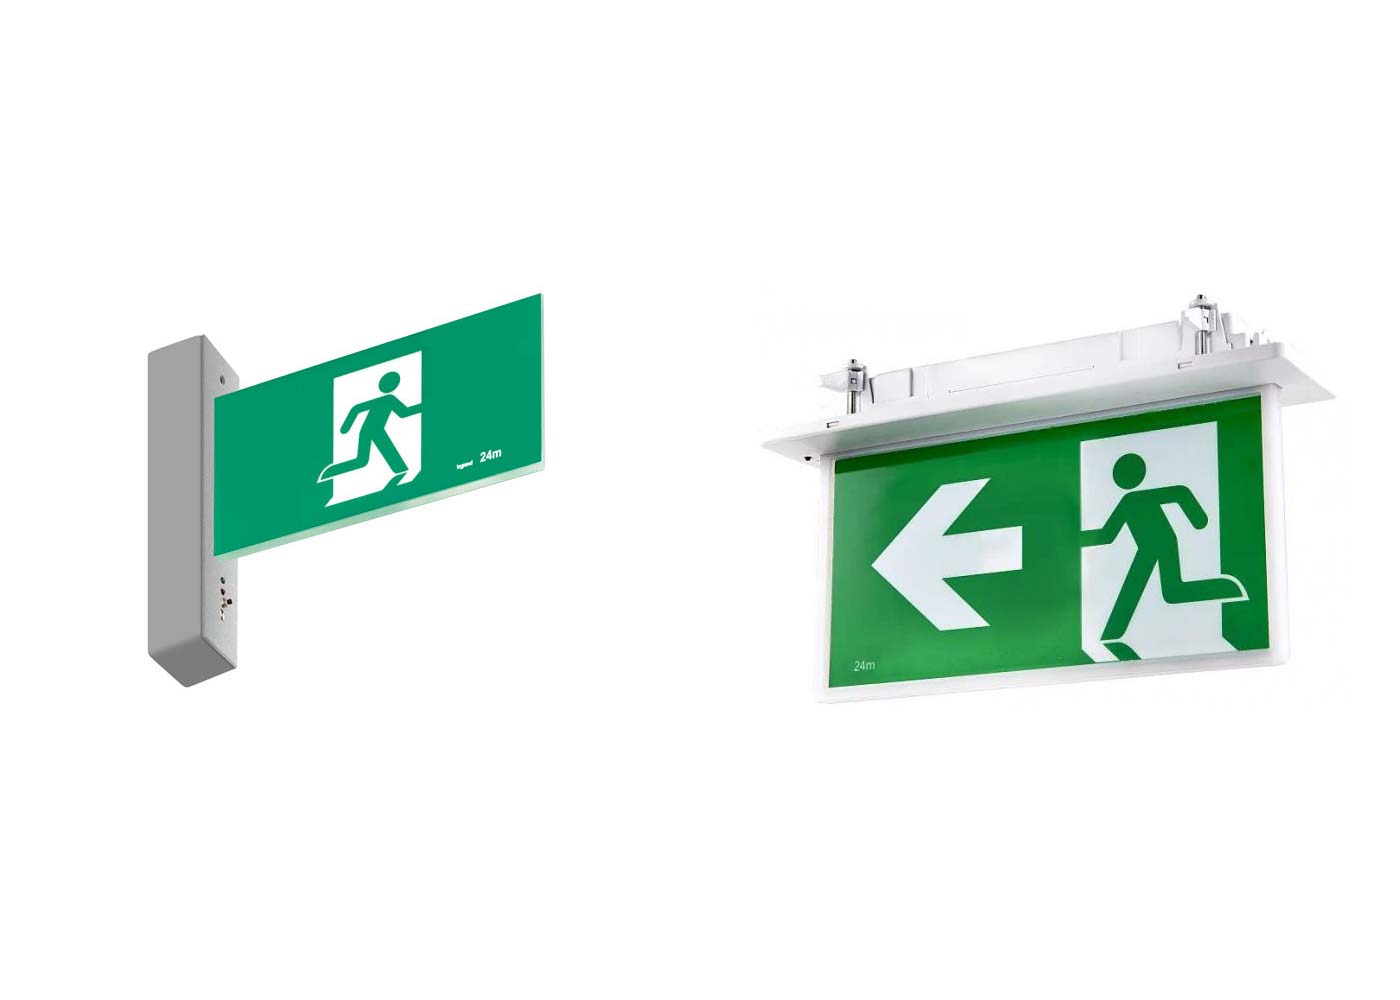
Surface mounted exit lights are the most common type. They
are installed directly onto a wall or ceiling. This makes them easy to reach
and service.
Pick a spot where the light is visible from all directions.
Use a level to mark straight lines. Mark holes for screws using the back plate
of the fixture as a guide.
Drill holes at the marked spots. If you are fixing into
drywall, insert wall anchors. These will keep the screws from loosening.
Open the wiring compartment on the back of the light. You
will see wires in three colors: black, white, and green. The black wire
connects to the live supply, the white connects to neutral, and the green
connects to ground. Strip the wire ends and join them with wire connectors.
Wrap the joints with electrical tape for extra safety.
Once wiring is complete, place the light against the wall or
ceiling. Align the holes with the anchors and screw it in place. Check that it
is straight with your level.
Turn the power back on. The light should glow. Most exit
lights have a test button. Press it to check the backup battery function. If it
works, the installation is complete.
Recessed exit lights give a neat finish. They sit inside the
wall or ceiling with only the face showing. They take more time to install, but
many prefer the clean look.
Mark the spot where the light will sit. Use the housing as a
template. Trace its outline onto the wall or ceiling. Use a drywall saw to cut
the opening. Keep the cut neat and smooth.
Slide the recessed housing into the cutout. Most housings
come with clips or brackets that lock against the drywall. Push the clips in
place until the housing is snug.
As with surface mounted lights, connect the wires. Black to
live, white to neutral, green to ground. Make sure connections are tight. Push
the wires back into the housing.
Fix the light body into the recessed housing. Many models
snap in with springs or screws. Once locked in, only the face of the exit light
will be visible.
Turn power back on and press the test button. The light
should work on both main power and battery backup.
1. Pick the right location. Exit lights must be placed above
doors or in hallways that lead to exits. They should be easy to see in the
dark.
2. Follow building codes. Check local safety codes before
installing. Rules may say how high or where the lights must go.
3. Maintain the lights. Press the test button once a month.
Replace batteries when they no longer hold charge. Clean the face plate to keep
the letters clear.
4. Use LED exit lights. They last longer and use less power
than older bulb types.
- Not cutting power first. This is dangerous and can cause
shock.
- Poor wire connections. Loose wires can cause the light to
fail during an emergency.
- Skipping anchors in drywall. Without anchors, the light
may fall.
- Wrong placement. An exit light that is hidden or blocked
is of no use.
Exit lights save lives. They show people the way out when
danger strikes. Installing surface mounted or recessed types does not need to
be hard. With the right tools and steps, you can set them up in a safe and
solid way. Always cut power before wiring, secure the fixture well, and test
the light after installation. Once in place, keep them clean and check them
often. A well-installed exit light is more than a fixture. It is a guide to
safety when it matters most.
Website and SEO By Poland Web Designer
Guard Master © Copyrights 2020 - . All rights reserved.