Exit lights are an important part of safety in any building.
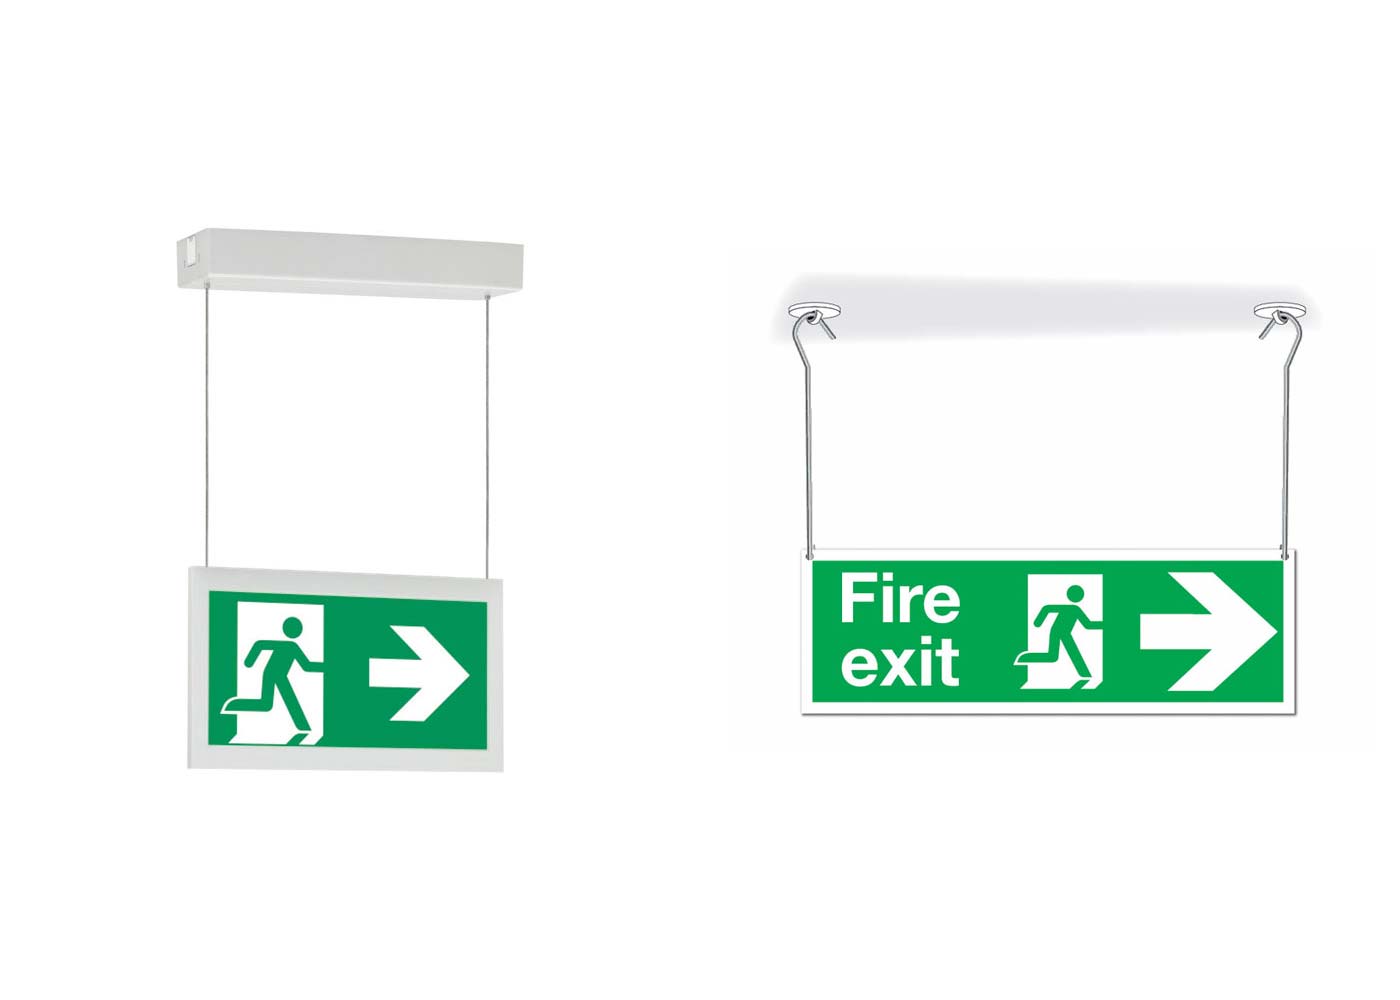
They guide people toward the nearest exit during an emergency. Hanging type exit lights are often used in hallways, stairwells, and large open areas
because they are easy to see from a distance. Installing them is not very hard
if you follow the right steps. This guide will walk you through the process in
clear detail.
Before you begin, make sure you have the right tools and
materials. This helps avoid delays once the work starts. You will need:
- A hanging type exit light fixture
- Mounting bracket (usually included with the light)
- Screws and wall anchors
- Drill with bits
- Screwdriver
- Wire strippers
- Electrical tape
- Voltage tester
- Ladder
- Safety glasses and gloves
Double-check that the light you bought matches the power
supply of your building. Most exit lights are either battery backup or
hardwired into the main electrical line.
The location of an exit light matters. Place it where it is
easy to see during normal conditions and in low light. A common spot is above a
doorway or in the middle of a hallway. If the exit light is double-sided, it
can guide people from both directions.
Look at building codes in your area. Some rules require exit
lights every 50 feet in hallways. Others require one above each exit door.
Following these codes is important for safety and for passing inspections.
Safety should always come first when working with
electricity. Go to the electrical panel and switch off the power to the circuit
where the light will be installed. Use a voltage tester to confirm that no
electricity is flowing to the wires. Never skip this step.
Hold the mounting bracket against the ceiling or wall where
you plan to install the light. Use a pencil to mark the spots for the screws.
If you are mounting the light on drywall, use wall anchors to make sure it
stays secure. Drill holes at the marked spots and insert the anchors if needed.
Carefully pull the wires from the electrical box. Strip
about half an inch of insulation from each wire. Match the wires from the exit
light to the wires from the electrical box.
- Black wire connects to the live (hot) wire.
- White wire connects to the neutral wire.
- Green or bare wire connects to the ground.
Twist the ends of the wires together with wire connectors.
Wrap them with electrical tape to make the connection secure. Gently push the
wires back into the box.
If the light has a battery backup, follow the instructions
to connect the battery. This allows the light to stay on even if the power goes
out.
Line up the exit light with the mounting bracket and secure
it with the screws provided. Make sure it hangs straight and is firmly in
place. If it feels loose, check the bracket and tighten the screws. A secure
fit is important because the light needs to stay in place during emergencies.
Go back to the electrical panel and turn the power back on.
The exit light should turn on right away. If the light has a test button, press
it to check the battery backup. The light should stay on even when the main
power is cut.
Walk a short distance away and see if the light is easy to
notice. A hanging type exit light should be bright and clear even from the far
end of a hallway.
Check the area around the light. Make sure there are no
wires hanging loose and that the fixture looks neat. Clean up any dust or marks
left from drilling. A clean finish makes the installation look professional and
keeps the focus on the safety sign.
Installing the light is only part of the job. Exit lights
need regular checks to make sure they work during an emergency. Press the test
button at least once a month. Replace batteries when needed. Dust the light so
it stays bright and visible.
Many building codes require yearly inspections. Keeping the
light in good condition will help your building stay safe and meet those rules.
When installing hanging type exit lights, people often make
a few simple mistakes. Avoiding them can save time and trouble.
- Forgetting to turn off the power before wiring.
- Using the wrong size anchors or screws.
- Placing the light too high or too low, making it hard to
see.
- Not checking local codes before installation.
- Skipping regular tests after the light is installed.
Hanging type exit lights are not just another piece of
equipment. They are a vital part of building safety. Installing one takes some
planning, the right tools, and careful steps. Once in place, the light gives
clear direction when it matters most.
By choosing the right location, wiring it safely, and
testing it often, you ensure the exit light will do its job during an
emergency. It is a small effort that makes a big difference in keeping people
safe.
Website and SEO By Poland Web Designer
Guard Master © Copyrights 2020 - . All rights reserved.