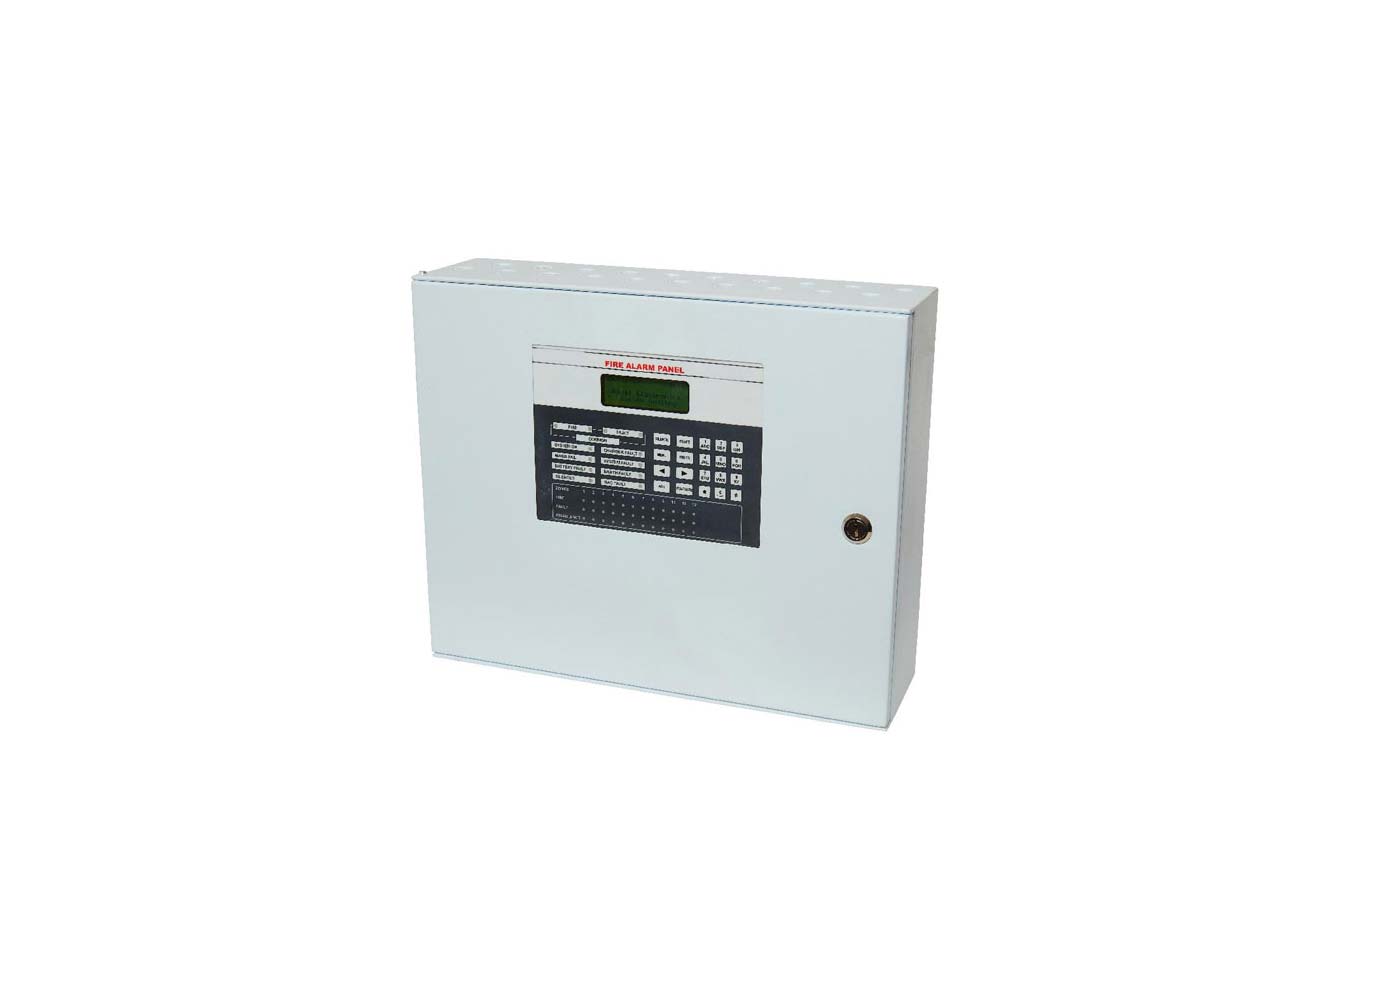
A fire alarm panel is the brain of any fire detection
system. It monitors connected devices like smoke detectors, manual call points,
and heat sensors. When a fire or fault is detected, the panel sends alerts
through sounders and flashing lights. Installing a fire alarm panel with 1 to 12 zones is a job that requires planning, safety knowledge,
and careful wiring. This guide explains the process step by step in simple
terms.
A zone is a section of the building that has its own group
of detectors. Each zone is wired back to the control panel. When an alarm goes
off, the panel shows which zone has the problem. For example, zone 1 may cover
the lobby, zone 2 may cover the kitchen, and so on. A 12-zone panel can monitor
up to 12 different areas.
Breaking the building into zones makes it easier for
firefighters and staff to know where the fire started. It also reduces false
alarms from spreading confusion across the whole site.
Before mounting the panel, study the layout of the building.
Mark where each detector, manual call point, and sounder will go. The number of
zones depends on the size and use of the building. Keep these points in mind:
- Place smoke detectors in corridors, offices, and meeting
rooms.
- Use heat detectors in kitchens, boiler rooms, or dusty
areas.
- Position manual call points near exits and stairwells.
- Sounders should cover all occupied spaces with a clear
alarm tone.
Draw a map of zones and label the devices in each one. This
will guide your wiring and make maintenance easier later.
Working with fire alarm systems involves electricity. Safety
is important. Always:
- Turn off power before wiring.
- Use the correct cable type as required by local fire codes.
- Wear gloves and eye protection when drilling or cutting.
- Follow the manufacturer’s manual for your specific panel
model.
If you are not confident with electrical work, ask a
licensed installer to handle the wiring. Fire alarm systems protect lives, so
mistakes can be serious.
Choose a location that is easy to reach but safe from
damage. The best place is near the main entrance so building staff and fire
crews can see it at once. Mount the panel on a firm wall at eye level. Leave
enough space around it for future maintenance.
Secure the back box of the panel first, then attach the
panel face. Run conduit or trunking to guide the cables neatly into the panel.
Each zone will have its own pair of terminals on the panel.
The standard method is a radial circuit. This means the cable runs from the
panel to each detector and call point in that zone, then back to the panel.
Steps for wiring a zone:
1. Connect the positive and negative cables to the first
detector.
2. Run the same pair of cables to the next detector or call
point.
3. Continue until the last device, then return the cable
back to the panel.
4. Check that the polarity (positive and negative) is
correct at each point.
Use end-of-line (EOL) devices or resistors as shown in the
manual. These tell the panel if the circuit is complete. If the cable is cut or
removed, the panel will show a fault.
Sounders are alarm bells, sirens, or electronic speakers.
They have their own terminals on the panel. Like the detectors, wire them in a
loop or radial circuit. Fit an EOL device at the end.
Make sure sounders are loud enough for the building. The
sound level should be 65 dB in most areas and at least 75 dB at bed head level
in sleeping areas.
The fire alarm panel runs on mains electricity but must have
a backup battery in case of a power cut. Install the correct size battery
inside the panel. The manual will state the required capacity. Connect the
mains supply to the power input, making sure the circuit has its own fused
connection.
Once the wiring is complete, power up the panel. The panel
should show normal operation with no faults. Then test each zone:
- Trigger a smoke detector by using test spray.
- Press a manual call point.
- Check that sounders operate when an alarm is raised.
- Reset the panel after each test.
Also test the backup battery by switching off the mains
supply. The panel should keep working on battery power.
Label each zone on the panel clearly. For example, Zone 1:
Reception, Zone 2: Kitchen, and so on. Keep a written record of test results,
device locations, and wiring routes. This record is important for maintenance
and for fire safety inspections.
Installation is only the first step. Fire alarm panels must
be tested and maintained on a regular basis. Do a weekly test of at least one
call point in rotation. Have the full system checked by a qualified technician
at least once a year. Replace batteries every few years or as recommended by
the manufacturer.
Installing a 1 to 12 zone fire alarm panel takes planning
and care, but the process is straightforward when broken into steps. Understand
the zones, plan the device layout, follow safe wiring practices, and test the
system fully before use. A well-installed fire alarm system gives people time
to escape and saves lives.
Website and SEO By Poland Web Designer
Guard Master © Copyrights 2020 - . All rights reserved.